How to Apply Lipstick with a Brush: A Professional Technique
Sample meta description.
Why Use a Lipstick Brush The Benefits of Precision Application
Okay, let's talk lipstick brushes. You might be thinking, "Do I *really* need another tool in my makeup bag?" The answer is, probably yes! Especially if you're after that flawless, professional-looking pout. A lipstick brush isn't just some fancy extra; it's a game-changer for several reasons. First off, precision. Trying to get a crisp line with a bullet lipstick, especially around the cupid's bow, can be a real struggle. A brush allows you to meticulously define the lip line, preventing feathering and bleeding, especially with darker or more pigmented shades. Think of it like using a fine-tipped pen versus a crayon. Secondly, control. You can build up the color gradually, avoiding that dreaded "too much" look. This is particularly useful with bold colors that can easily become overwhelming. You're in the driver's seat, deciding exactly how much color to deposit. Finally, longevity. Using a brush helps you get every last bit of lipstick from the tube. Those little bits at the bottom that are impossible to reach? A brush can grab them and put them to good use. Plus, it helps to blend different shades together seamlessly, creating custom colors and effects.
Choosing the Right Lipstick Brush Finding Your Perfect Applicator
Not all lipstick brushes are created equal! There are different shapes and materials, each suited to different needs. The most common types are:
- Flat, Firm Brush: This is your go-to for precise application and defining the lip line. It's great for applying bold colors and creating a sharp, clean edge. Look for synthetic bristles, as they tend to hold their shape better.
- Rounded Brush: This is ideal for blending colors and creating a softer, more diffused look. It's also good for applying lighter shades and glosses. Natural bristles can work well here, as they are softer and more flexible.
- Pointed Brush: This is your secret weapon for getting into those hard-to-reach areas, like the corners of the mouth and the cupid's bow. It's also fantastic for creating a very precise lip line.
- Retractable Brush: These are super convenient for travel and touch-ups. The bristles are protected, and they often come with a cap. While not always as precise as a full-sized brush, they're great for on-the-go application.
When choosing a brush, consider the material of the bristles. Synthetic bristles are generally more durable and easier to clean, and they are also a good option for those with allergies to animal hair. Natural bristles tend to be softer and can hold more product, but they require more care and cleaning. Also, pay attention to the handle length and grip. A comfortable handle will give you more control and precision.
Step-by-Step Guide How to Apply Lipstick with a Brush Like a Pro
Alright, let's get down to business! Here's a step-by-step guide to applying lipstick with a brush like a pro:
- Prep Your Lips: Exfoliate! Dry, flaky lips will ruin even the most perfect lipstick application. Use a lip scrub or a soft toothbrush to gently exfoliate. Follow with a moisturizing lip balm. Let the balm absorb for a few minutes before applying lipstick.
- Prime Your Lips (Optional): A lip primer can help to create a smooth canvas for your lipstick and prevent it from feathering or bleeding. It also helps to prolong the wear of your lipstick.
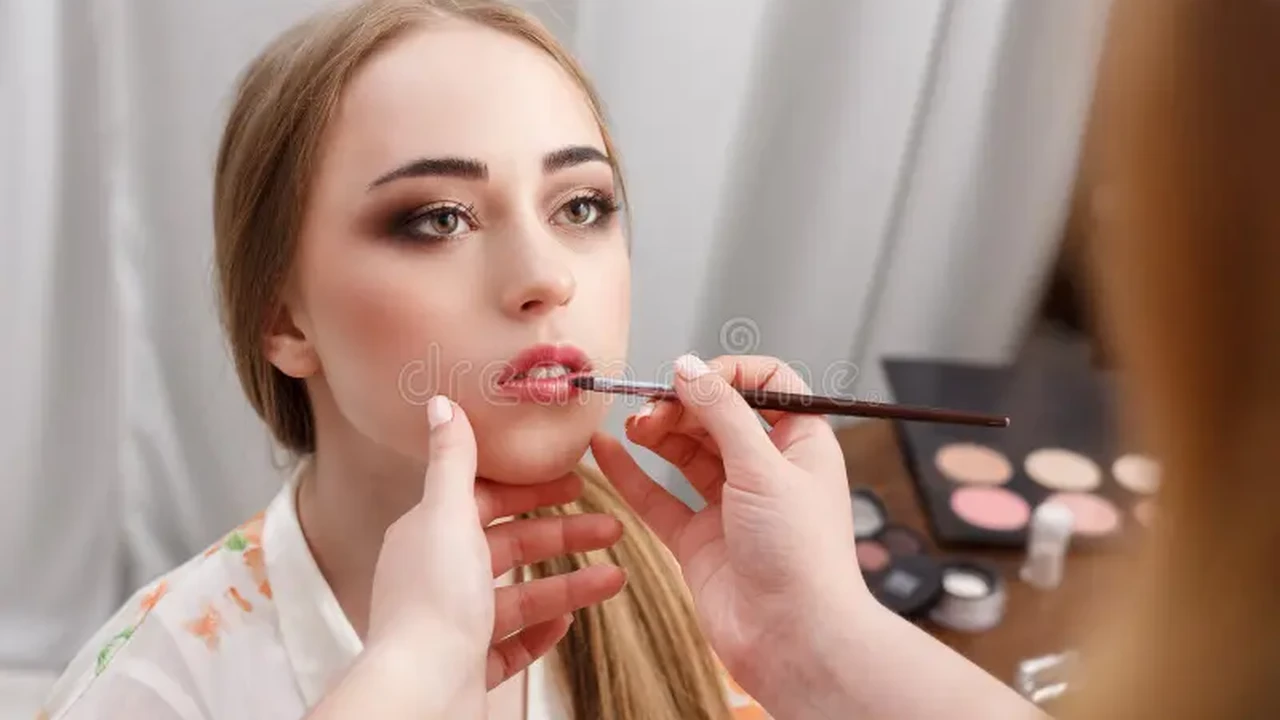
- Load Your Brush: Swirl the brush into your lipstick, picking up a small amount of product. You can always add more, but it's harder to take away! Wipe off any excess on the back of your hand to prevent clumping.
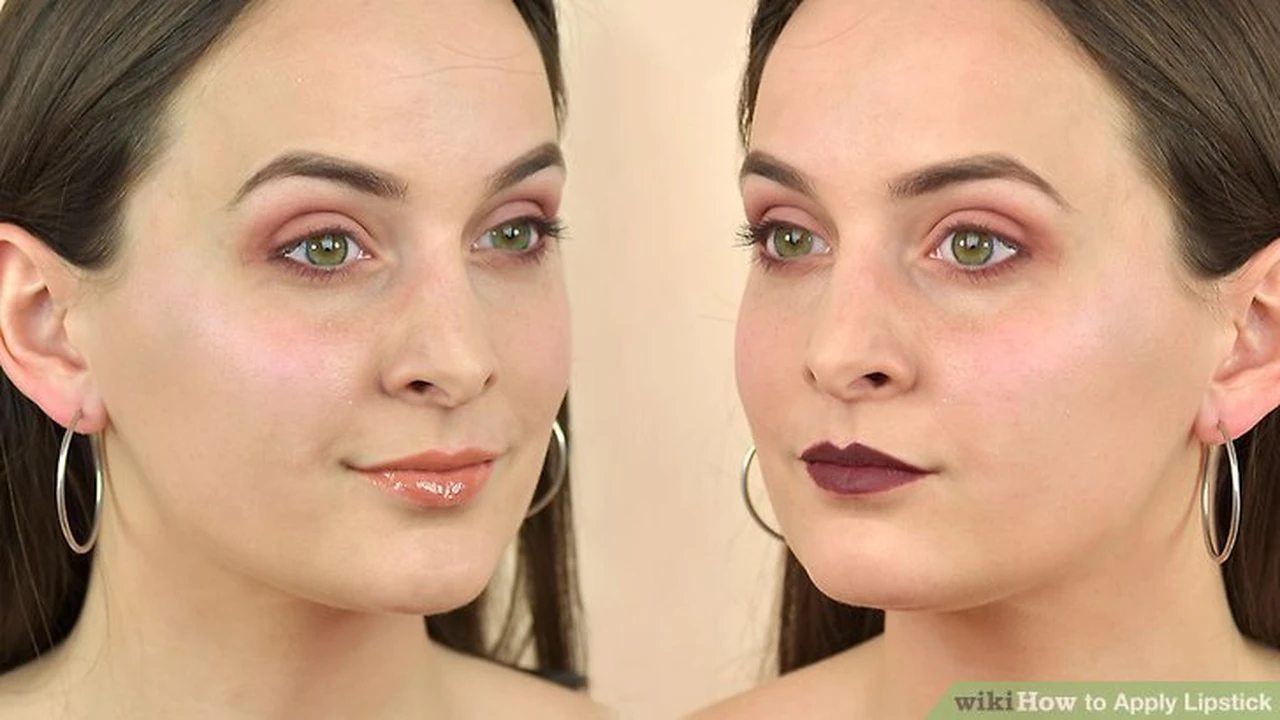
- Define the Lip Line: Start by defining the cupid's bow, using the tip of the brush to create a crisp, symmetrical shape. Then, trace the rest of your lip line, working from the corners of your mouth towards the center. If you're using a flat brush, use the edge of the brush to create a sharp line.
- Fill in the Lips: Once you've defined the lip line, fill in the rest of your lips with color. Use short, even strokes, working from the center outwards. You can build up the color gradually, adding more layers as needed.
- Blot and Repeat (Optional): For longer-lasting color, blot your lips with a tissue after the first coat of lipstick. Then, apply a second coat.
- Clean Up: Use a cotton swab dipped in makeup remover to clean up any mistakes or smudges around the lip line. A concealer brush can also be helpful for creating a super sharp edge.
Product Recommendations The Best Lipstick Brushes and Lipsticks to Use
Now, for the fun part! Here are a few of my favorite lipstick brushes and lipsticks to use with them:
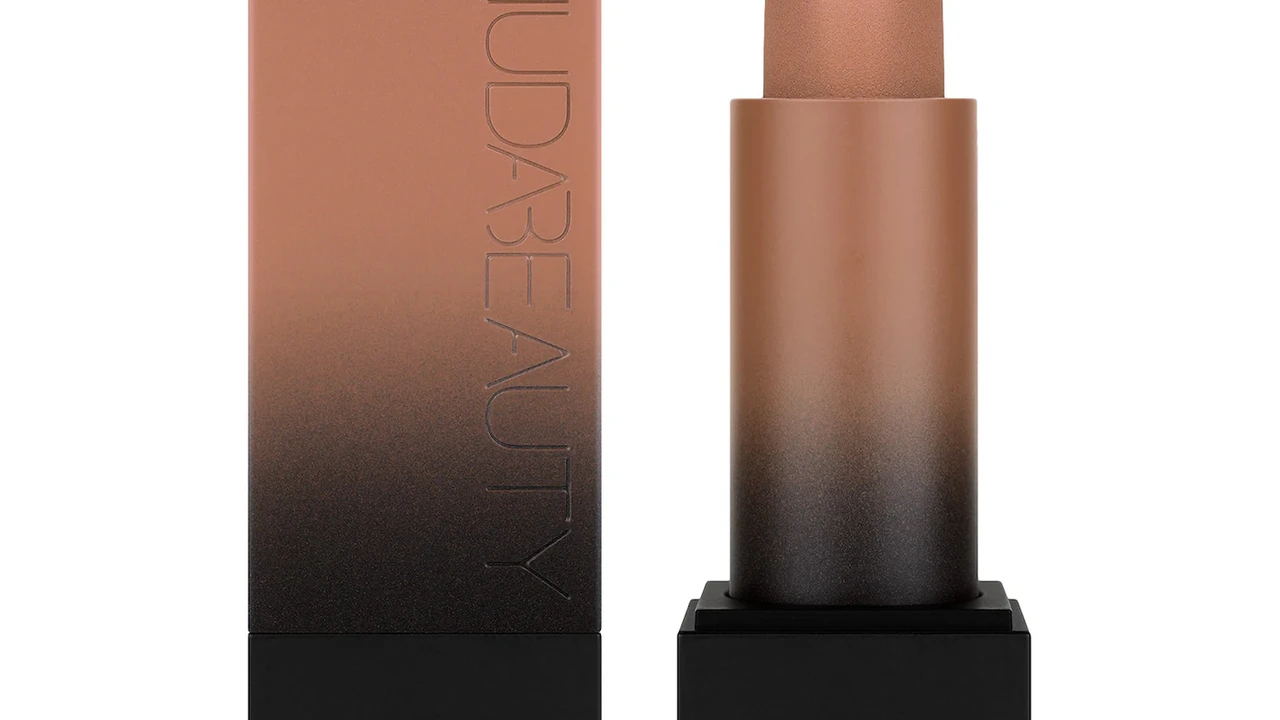
- Brush Recommendation: Wayne Goss Brush 08 (Price: $28) This is a beautifully crafted, synthetic brush with a pointed tip. It's perfect for precise application and creating a sharp lip line. It's an investment, but it will last for years with proper care. Use Case: Ideal for creating a classic red lip or any bold, defined look.
- Brush Recommendation: Real Techniques Lip Brush (Price: $6) A budget-friendly option that's still high quality. It's a flat, firm brush that's great for beginners. Use Case: Perfect for everyday use and applying a variety of lipstick shades.
- Brush Recommendation: MAC 316 Lip Brush (Price: $22) A classic, retractable lip brush that's perfect for travel. It's made with synthetic fibers and has a pointed tip. Use Case: Excellent for on-the-go touch-ups and applying lipstick in small spaces.
And for the lipsticks...
- Lipstick Recommendation: Charlotte Tilbury Matte Revolution Lipstick in Pillow Talk (Price: $34) A cult classic for a reason! This nude-pink lipstick is universally flattering and has a long-lasting matte finish. Use Case: Perfect for everyday wear and creating a natural, polished look. A rounded brush works well to blend this out.
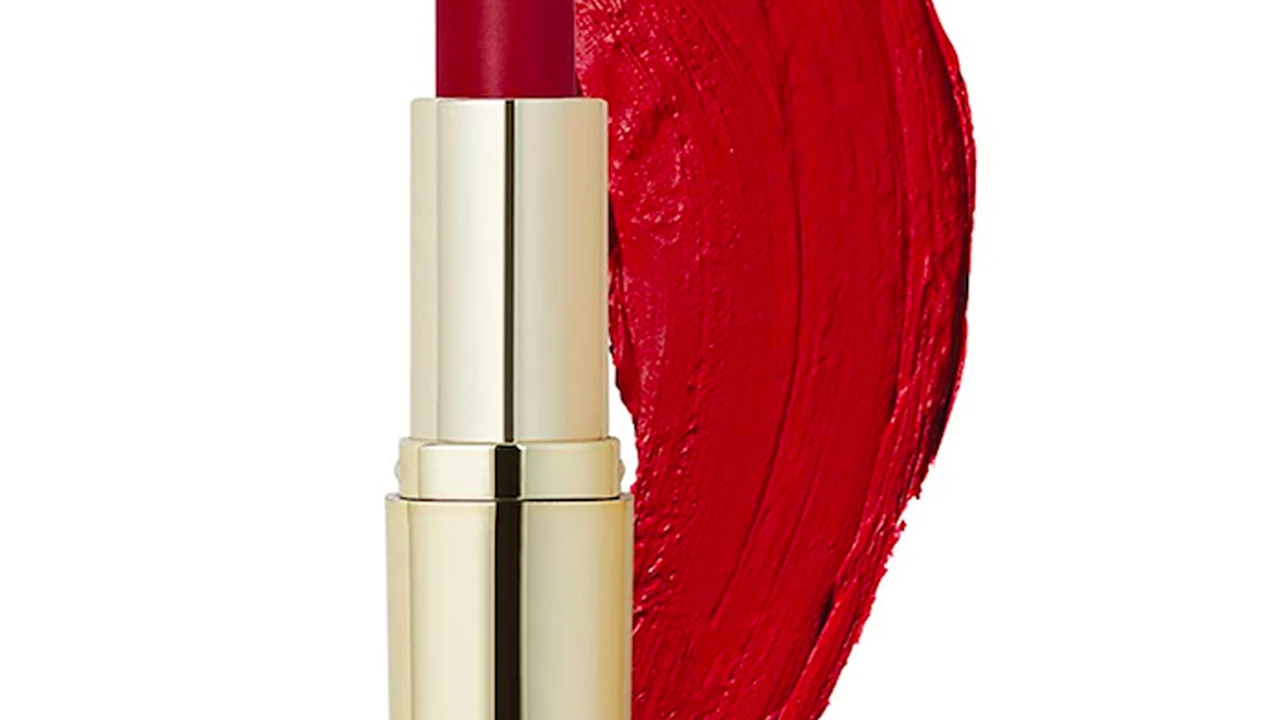
- Lipstick Recommendation: NARS Audacious Lipstick in Rita (Price: $34) A bold, classic red that will turn heads. The formula is creamy and pigmented, and it lasts for hours. Use Case: Ideal for special occasions and creating a statement lip. A flat, firm brush is essential for a precise application.
- Lipstick Recommendation: Fenty Beauty Stunna Lip Paint Longwear Fluid Lip Color in Uncensored (Price: $26) A long-wearing liquid lipstick that's transfer-proof and budge-proof. The formula is lightweight and comfortable to wear. Use Case: Perfect for long days when you need your lipstick to stay put. Use a pointed brush for precise application, as liquid lipsticks can be tricky.
Brush Care and Maintenance Keeping Your Tools in Top Condition
Taking care of your lipstick brushes is essential for maintaining their quality and preventing bacteria buildup. Here's how to clean your lipstick brushes:
- Wash Your Brushes Regularly: Ideally, you should wash your lipstick brushes after each use. However, at least once a week is essential.
- Use a Gentle Cleanser: You can use a special brush cleaner or a gentle shampoo. Baby shampoo works well.
- Rinse Thoroughly: Rinse the brush under lukewarm water, making sure to remove all traces of cleanser.
- Reshape the Bristles: Gently reshape the bristles with your fingers.
- Dry Flat: Lay the brush flat on a clean towel to dry. Do not stand the brush upright, as this can cause water to seep into the handle and loosen the glue.
- Avoid Harsh Chemicals: Do not use harsh chemicals or alcohol-based cleaners, as these can damage the bristles.
Comparing Lipstick Application Methods Brush vs Direct Application
Okay, so why bother with a brush when you can just swipe on lipstick directly from the tube? Let's break down the pros and cons:
- Lipstick Bullet (Direct Application):
- Pros: Quick, easy, convenient, requires fewer tools.
- Cons: Less precise, harder to control color intensity, can lead to feathering, doesn't reach the bottom of the tube, can be less hygienic (direct contact with lips).
- Lipstick Brush Application:
- Pros: More precise, better control over color intensity, helps prevent feathering, allows you to use every last bit of lipstick, more hygienic (brush can be cleaned).
- Cons: Requires more time and effort, requires additional tools, can be less convenient for on-the-go touch-ups (unless using a retractable brush).
Ultimately, the best method depends on your personal preferences and the look you're trying to achieve. For a quick, casual look, direct application is fine. But for a more polished, professional look, a lipstick brush is the way to go.
Troubleshooting Common Lipstick Brush Application Issues
Even with the best technique, you might run into a few snags. Here are some common problems and how to fix them:
- Uneven Application: Make sure you're loading the brush evenly with product. Also, use short, even strokes to apply the lipstick.
- Feathering: Use a lip primer to prevent feathering. You can also use a lip liner to create a barrier.
- Bleeding: Similar to feathering, use a lip primer and lip liner. Also, avoid applying too much lipstick around the lip line.
- Clumping: Make sure you're not using too much product. Wipe off any excess on the back of your hand before applying.
- Streaky Application: Use a good quality lipstick and a clean brush. Also, make sure your lips are properly exfoliated and moisturized.
Experimenting with Lipstick Brush Techniques Creating Custom Looks
Once you've mastered the basics, you can start experimenting with different lipstick brush techniques to create custom looks. Try these:
- Ombre Lips: Use a darker shade on the outer edges of your lips and a lighter shade in the center. Blend the colors together seamlessly with a rounded brush.
- Blurred Lips: Apply lipstick to the center of your lips and then use a clean, rounded brush to blend the color outwards, creating a soft, diffused effect.
- Defined Cupid's Bow: Use a pointed brush to create a sharp, defined cupid's bow. This is a great way to add definition to your lips.
So there you have it! Everything you need to know about applying lipstick with a brush like a professional. Get out there and experiment!
:max_bytes(150000):strip_icc()/277019-baked-pork-chops-with-cream-of-mushroom-soup-DDMFS-beauty-4x3-BG-7505-5762b731cf30447d9cbbbbbf387beafa.jpg)